As a designer, my clients are always looking for inexpensive ways to add character, warmth and personality to new spaces. Areas like mantels, foyers and even bedrooms. Deconstructed books are so classic, casual and whimsical!
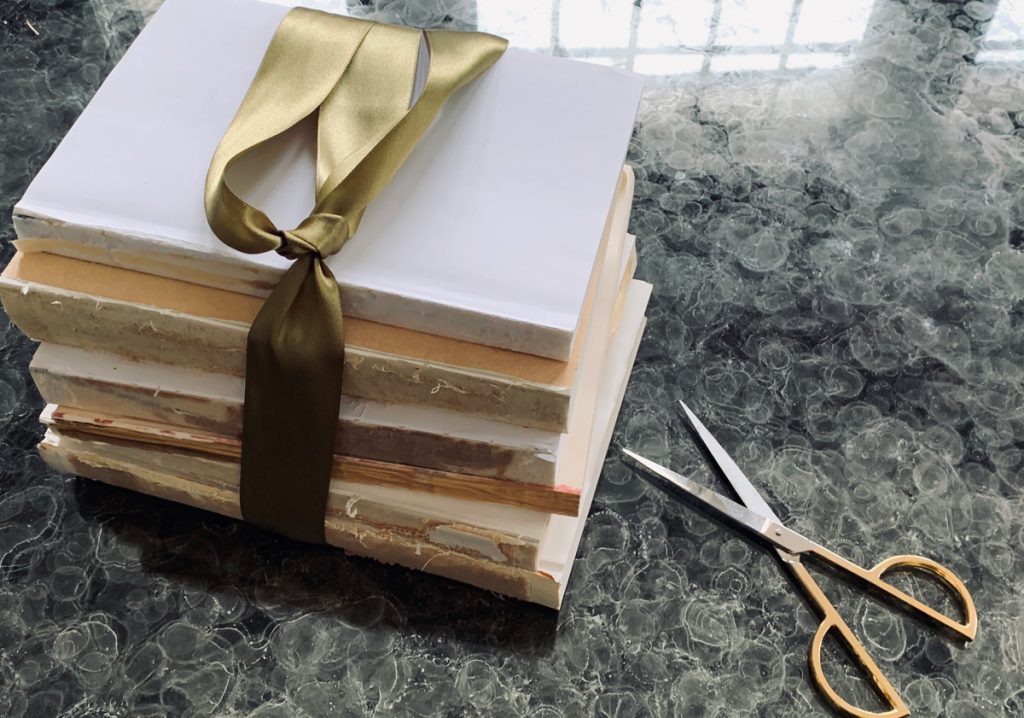
The great news is not only are deconstructed books inexpensive and super easy… but all you need is a single household item! Anyone can do this… trust me. And you don’t even need old books. New books are what are shown here. All the books bought in this post were purchased for $1.00 or less. Don’t over pay for used books….
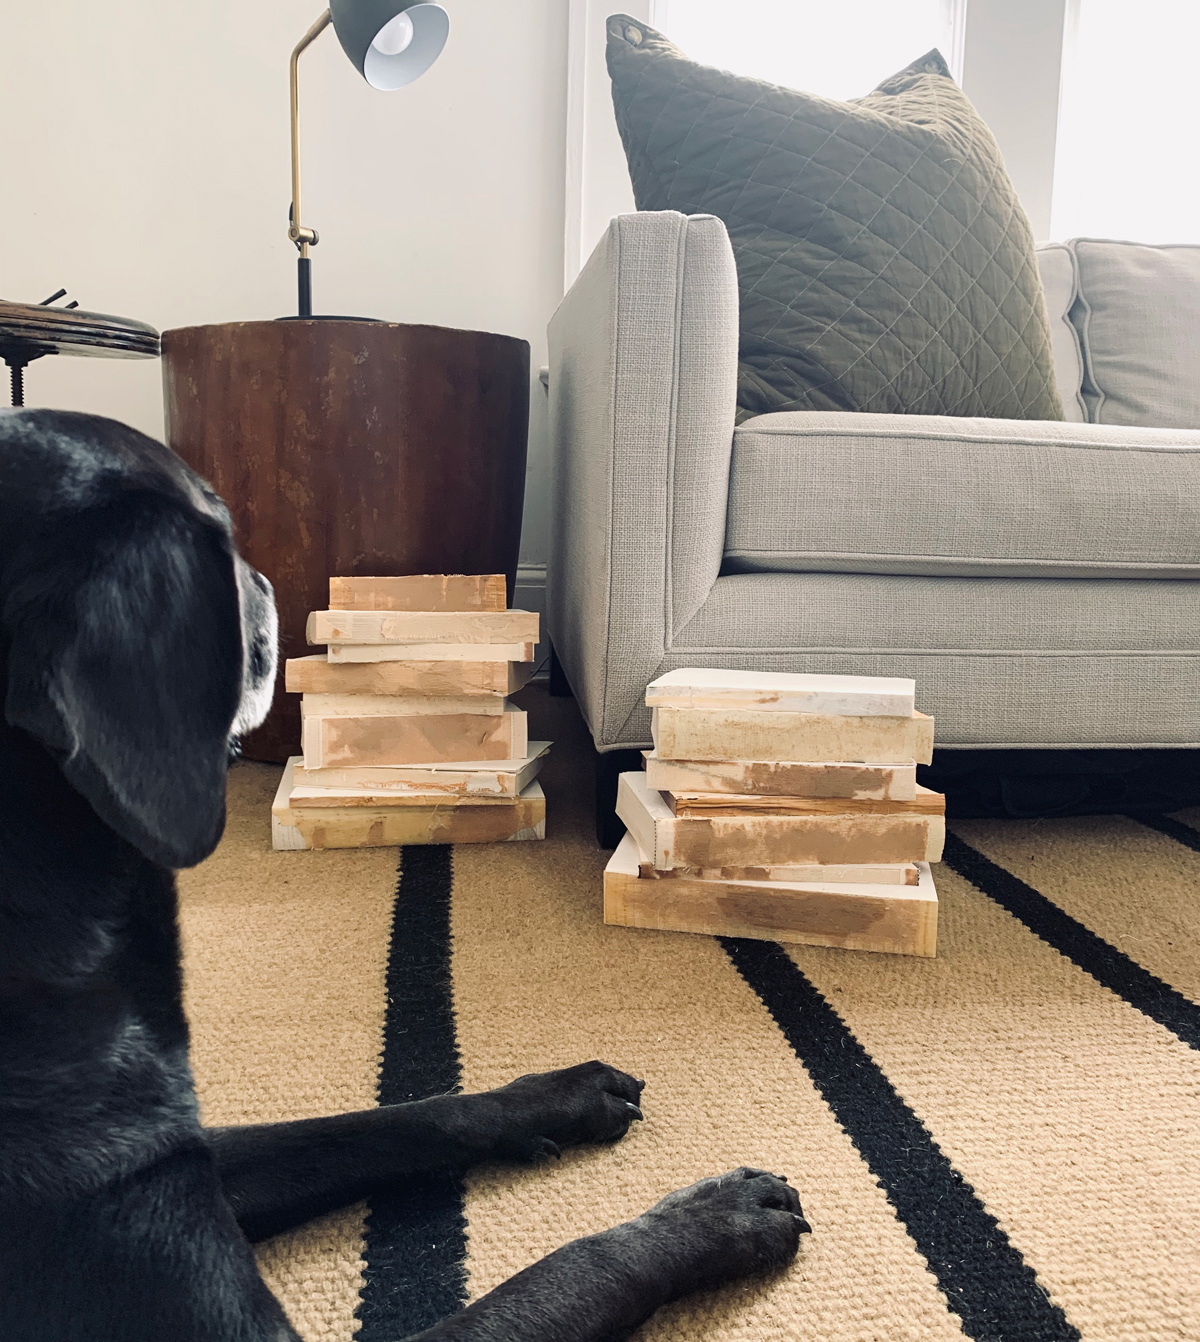
I’ll give you recommendations on where to find the best deals, and folks please be open to using all sizes and kinds of books. I used massive college text books, children’s books even cookbooks for my deconstructed books. Anything that is a cheap, hardback book is a perfect candidate. Let’s get started!
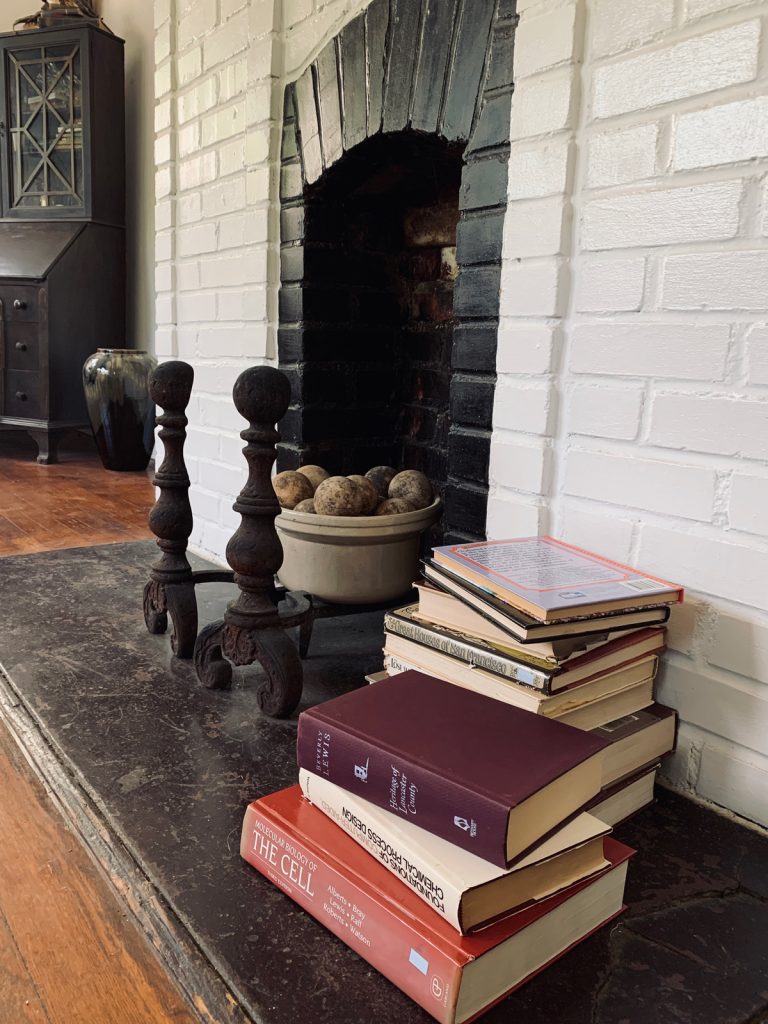
Book buying/ collection: Before you get started making deconstructed books, you need to have your books gathered and selected. As I mentioned earlier, you do not need old books and any size works! But one important note they do need to be hardcovers. Paperbacks won’t work.
First go through your home and collect the old hardcovers you no longer want. Got any old college text books grab’em. Ask friends and family for books they no longer want. Finally visit thrift stores for purchasing used books. Personally, I wouldn’t visit antique or vintage stores because those stores are typically priced a little on the high side. You need stores like Goodwill, the Salvation Army and generic Thrift Stores. Garage sales are also a good option just don’t over pay. You’re looking for newer books for $1.00 or less. Any size works. Personally, I like the variation created by being able to stack different sizes. To me that only adds appeal and interest.
1) Now Let’s Deconstruct!:
Gather all your hardcover books. You will need to set the books on a flat hard cutting surface.
Please note: Do not cut on a valuable surface it might get ruined!
2) Next the only item you will need:
A utility knife, an X-acto knife, or a simple single edge razor will do.
Use what you have in your home. No need to go out and buy a special tool folks! Super sharp scissors will work but they aren’t as easy to use. I would recommend the other household items. I used a single edge razor that I had been using to clean windows, but….please be careful. Go slow. This isn’t worth a trip to the emergency room.
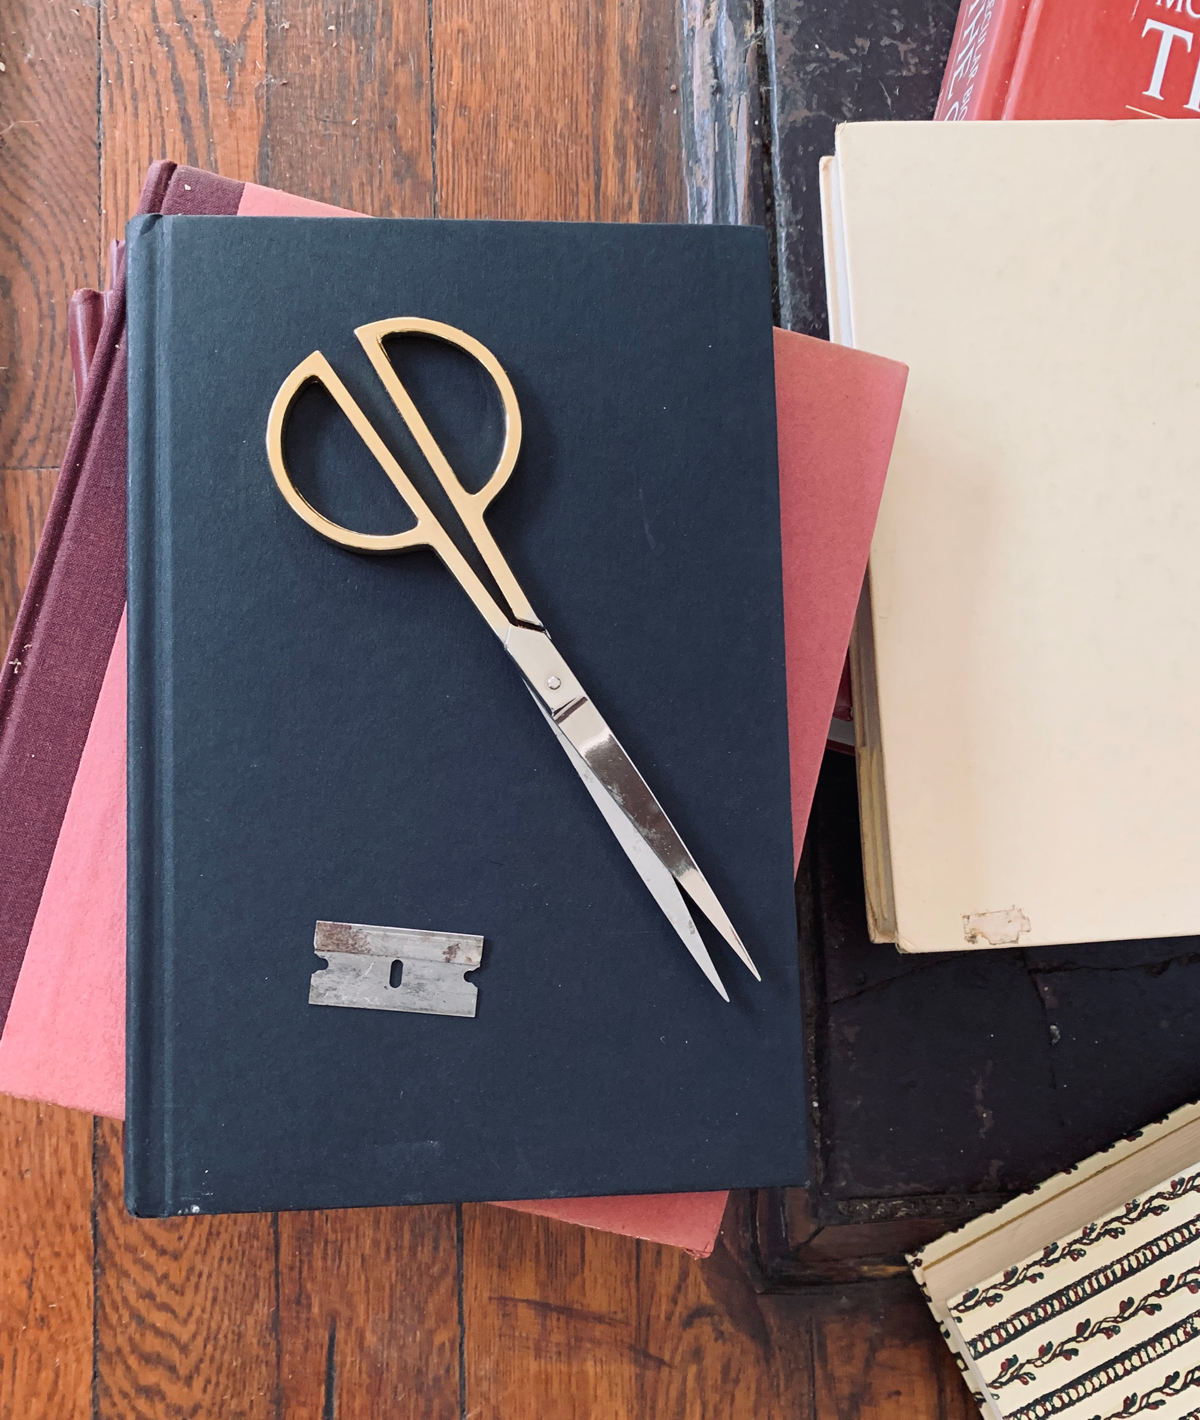
3) Next lay your book flat on the cutting surface.
Open either the front or back hard cover. With your razor or utility knife carefully cut at a 45 degree angle from the top down to the bottom along the joint, cutting through the end paper and cover as you go. This releases the side of the book from its hard cover. Do both the front and the back.
Don’t worry if the book doesn’t break completely free. That’s the fun! Just pull and the hard exterior cover will tear the rest of the way off. Please know that no two books will look the same once the cover is off, but that to me is what I absolutely LOVE!
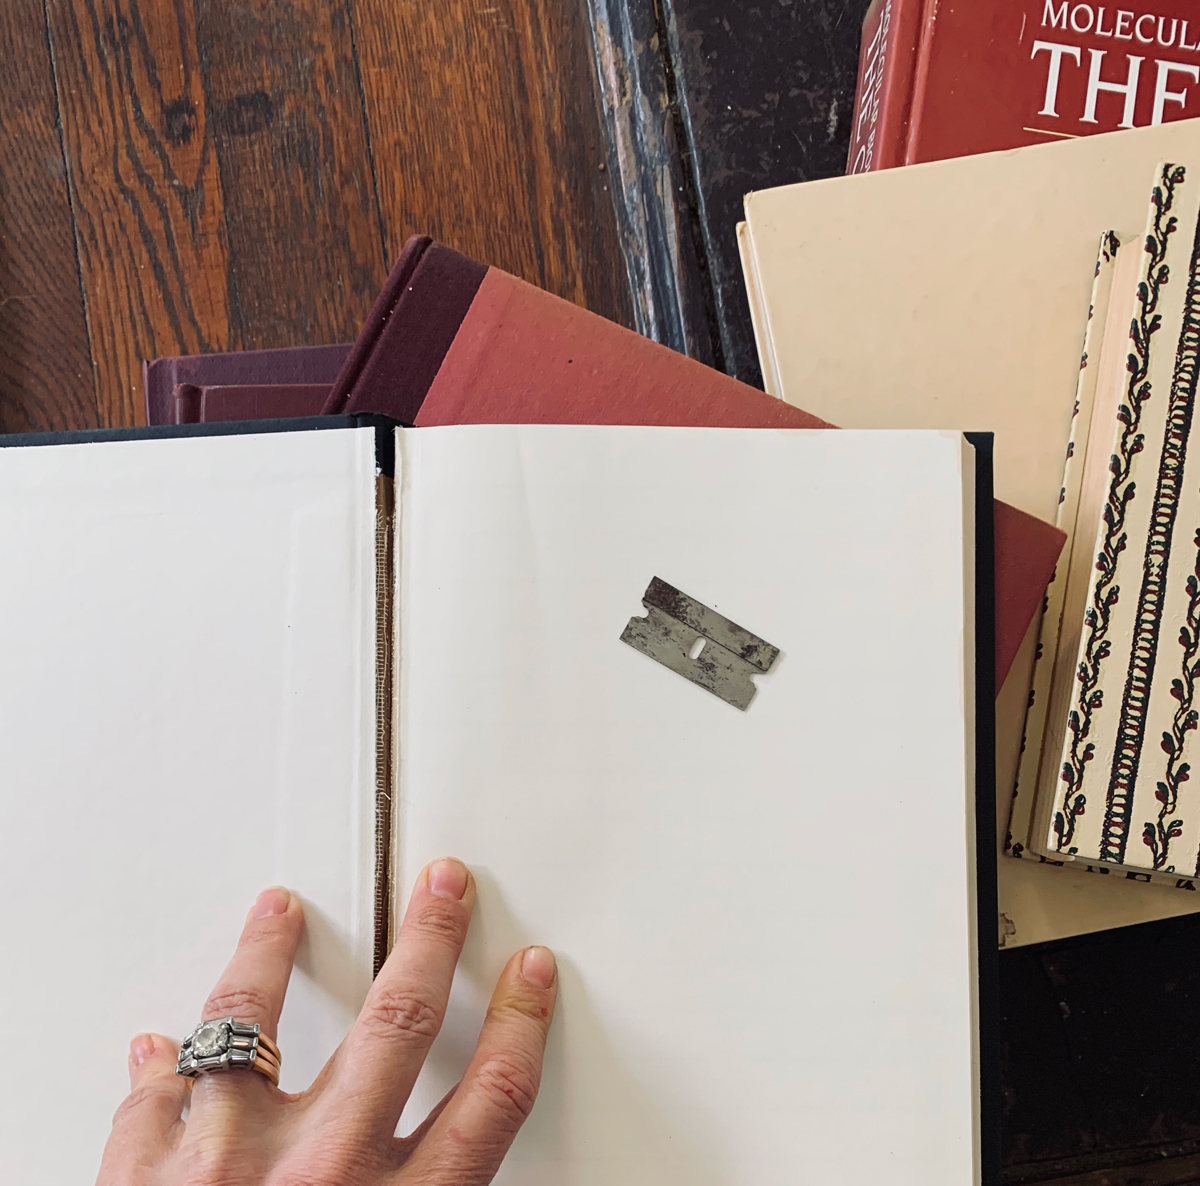
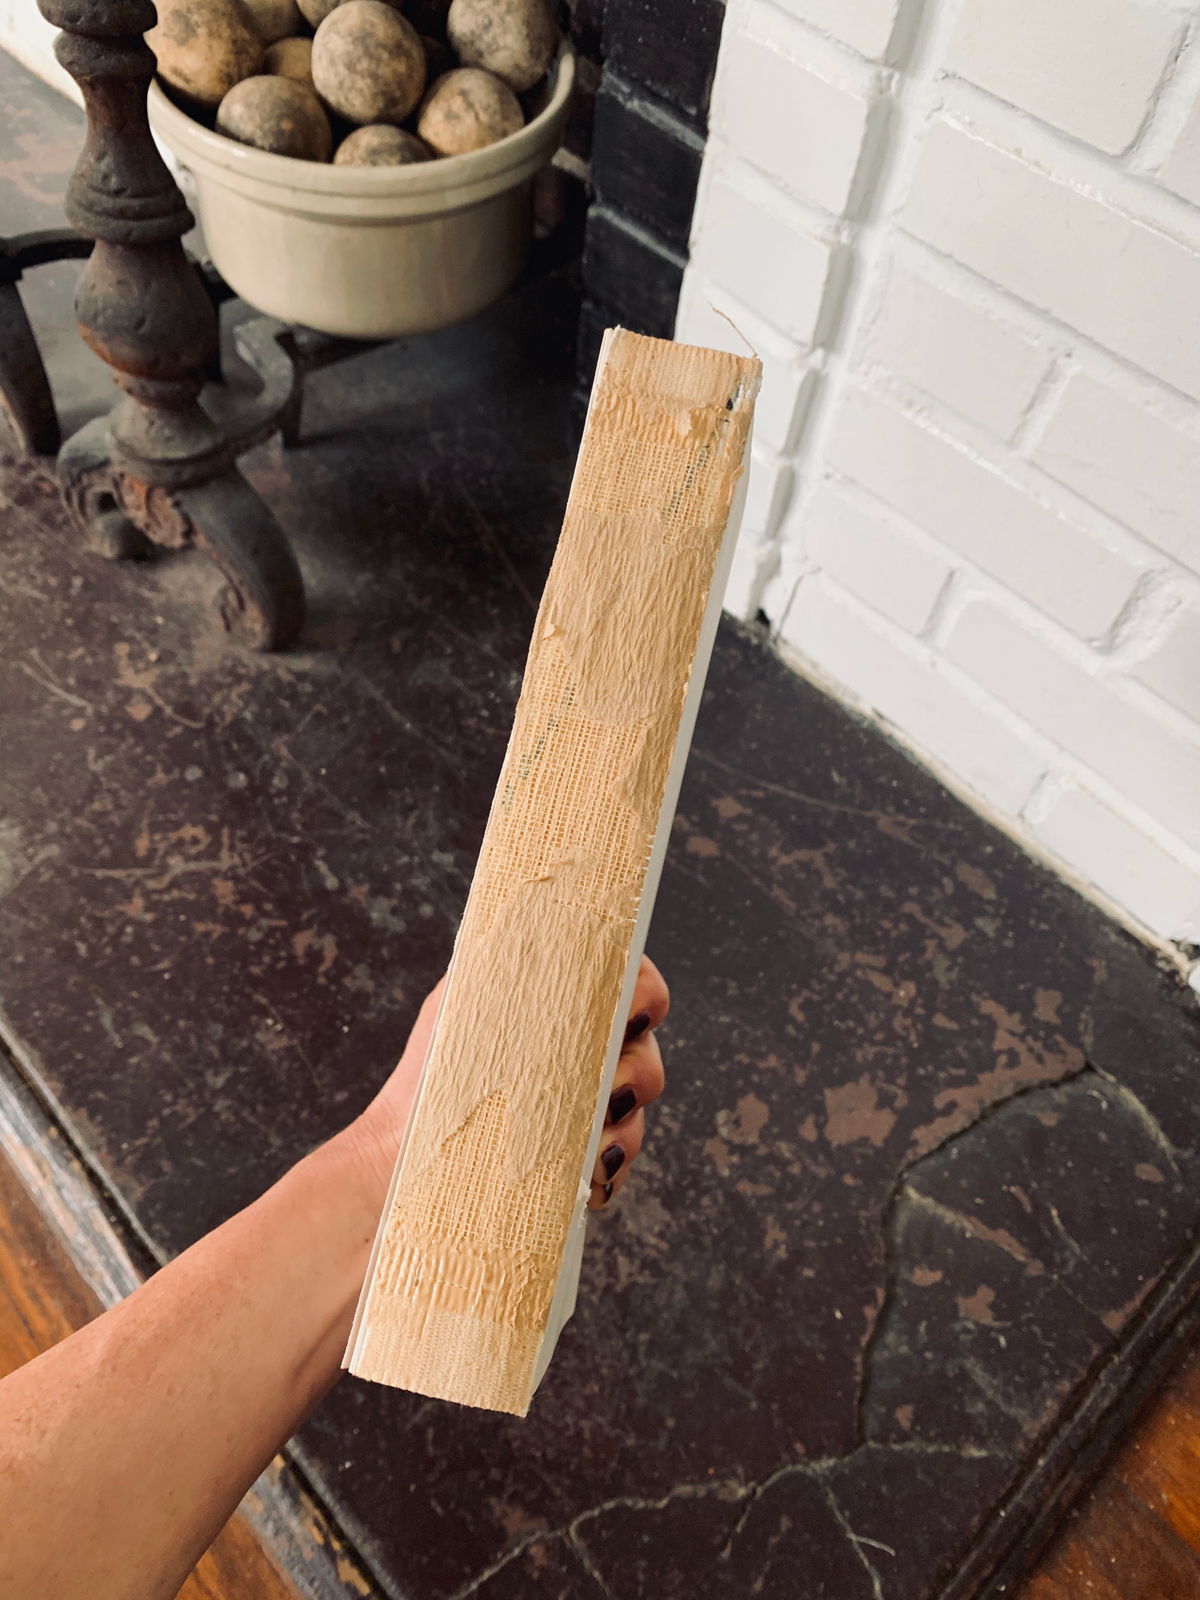
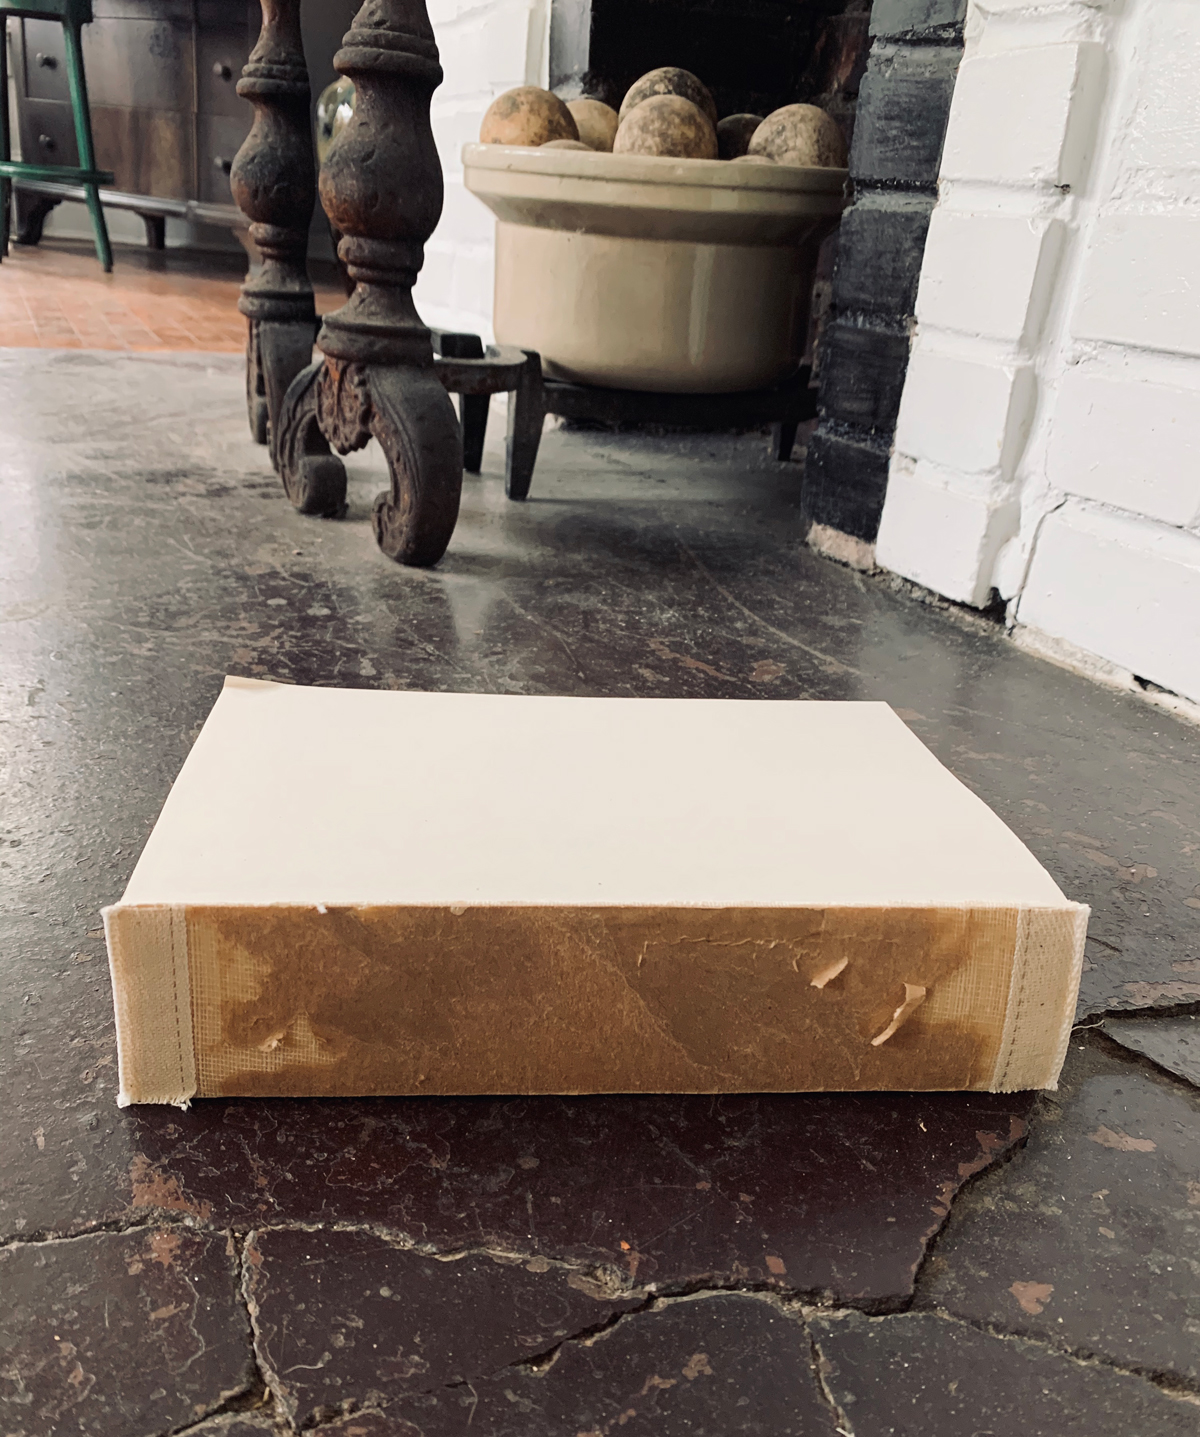
4) Now assess how much of what remains you want to keep.
Please note each book will look different once you remove the cover. That is the charm. Don’t obsess over it. Don’t clean it up too much. Leave it a little unfinished. It’s just cardboard and binding tape. Pull off more of the remaining binding if you want a more consistent look. I left it pretty much alone after I took off the cover.
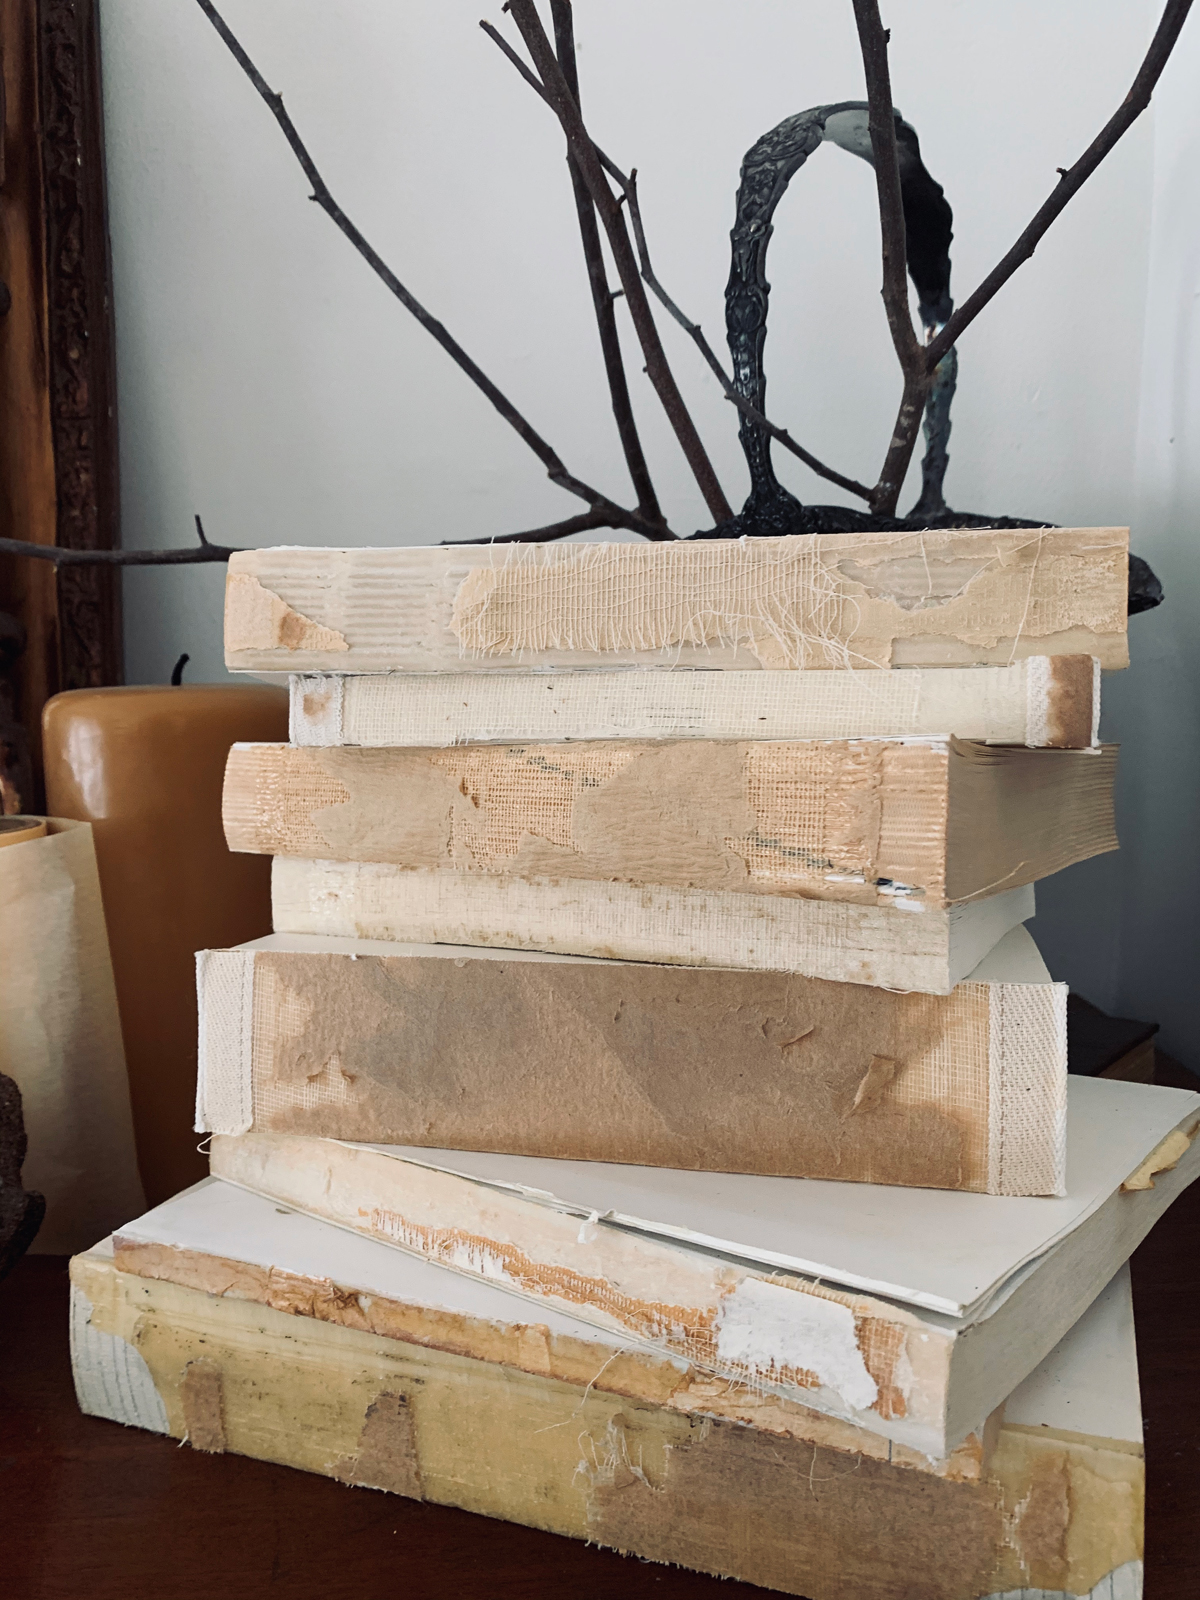
5) What now?
Wrap your deconstructed books in bundles or just start stacking them in piles.
Use velvet, satin or super casual twine to bind the books in groupings. Don’t forget to get seasonal… add artificial sprigs of berries to your ribbon/twine bindings. Or better yet swap the ribbon out completely to embrace the changes each season.
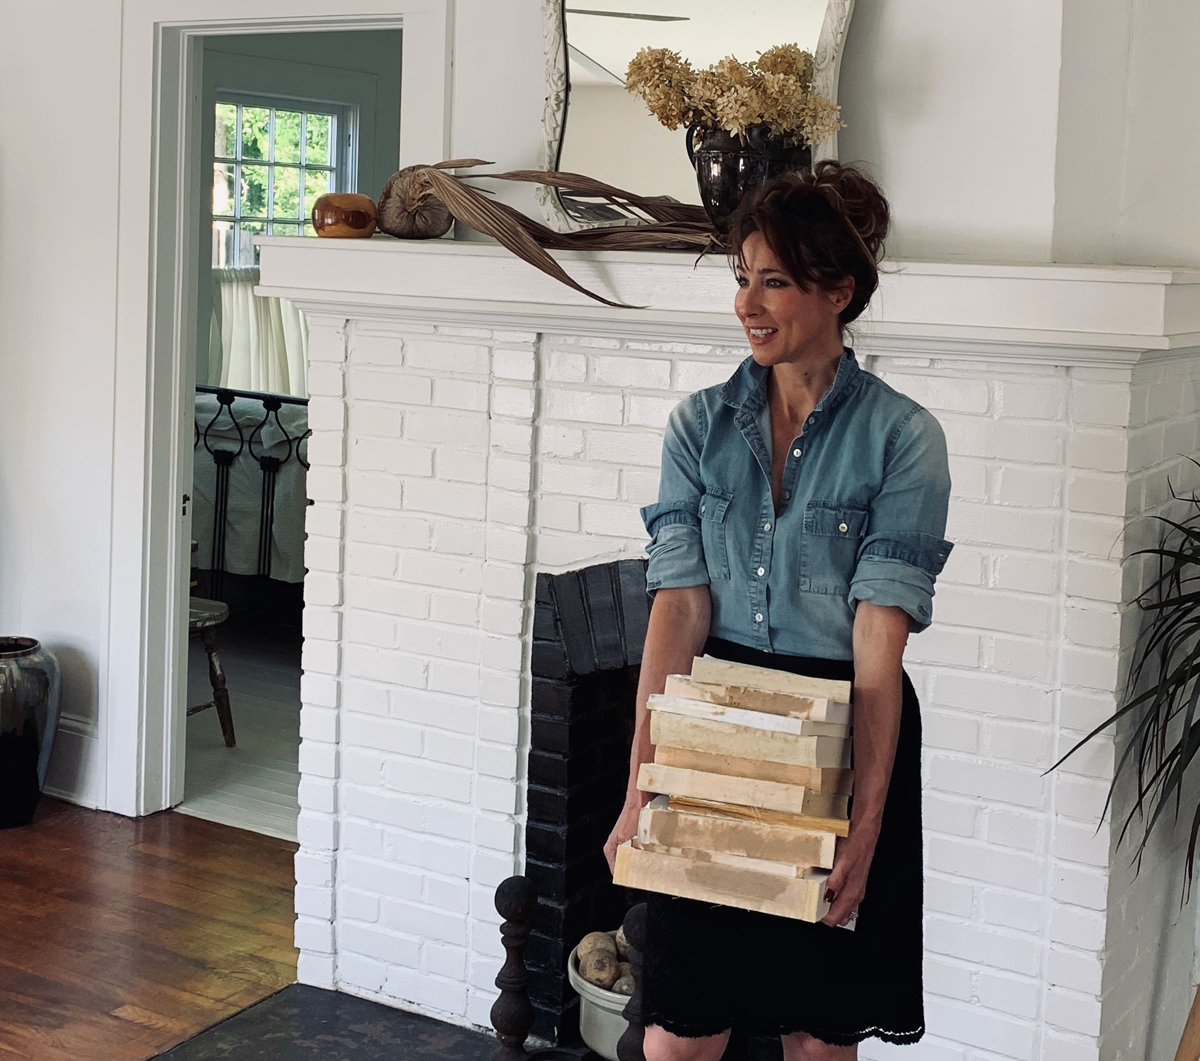
Let me know how your deconstructed books turned out.
I want to see photos of your new DIY accessories and how you used them in your home.
Xoxo Abbi
More of my favorite tips!
Mid-Century Modern… all from a secondhand store!
Aluminum carry-on luggage… 6 things no one tells you!
Casual Fall Brunch… with Crepes!
Retreating to Lake Chatuge… My 5 must haves!
Paint Can Art
Classic and Easy Easter tablescape… Step by step
Decorating with tree branches
Turpentine Pots: Add History to Your Home
Why I’m OBSESSED with Pendleton Blankets!
Hydrangea and Figs Floral Arrangement

