But first, before I share my Homemade ice cream recipe, here’s the real backstory story of my ice cream maker!
When I was 27, I bought a house on 5 acres. It was my first real house. I had bought a condo before but this was different. I finally had a home with a YARD!
But then the recession hit, I had just started my own design business and I almost didn’t survive. For years I scraped by not putting the heat on (for 2 years!), eating homemade soup all week… you know the 1 lb bag of dried beans with the seasoning packet. That’s what I ate!!
I eventually made the heartbreaking decision to sell the house and luckily I had that option.
As I packed up I gave away SO many things, all the while feeling guilty for having them. Feeling guilty for having bought them and deeply regretting being in this position. I drove a used Ford F-150 truck with 200,000 miles on it, so trust me when I tell you it wasn’t from over spending.
The recession just hit really hard and lasted years. Banks weren’t lending and very, very few people were hiring designers. I desperately needed a fresh start.
Out of everything I gave away, I didn’t give away my homemade ice cream maker. We had had some amazing times making ice cream on the back deck, with the music going, grilling, with fresh blackberry cobbler bubbling in the oven, so I kept it. I kept it as a promise to myself that there were good times ahead, and I would make ice cream again during the good times. It was a sign of the coming, hopefully better, future and my hope of getting there. It may sound silly but my ice cream maker is my symbol for hope and a return of the good times… with a heart full of gratitude of course.
So now, here is my no-cook, creamy, crowd pleasing ice cream recipe that will never disappoint!! This is the only homemade ice cream recipe you will ever need! And it’s super easy.
Ingredients
- 5lb. bag of crushed ice (you need good bit of ice about the size of a quarter. Larger pieces will be difficult to fit around the sides of the canister depending on the make of your ice cream machine)
- 4lb. Ice cream salt (this is large course salt that helps the ice stay colder)
- Large lemon (1 TBS of fresh lemon juice/ 1 TSP of fresh lemon zest approx 1/2 a lemon) *Do not leave the lemon out!! Trust me.
- 1 TBS Vanilla extract
- 4 cups of heavy cream/whipping cream
- 2 cups whole milk.
- 1 cup granulated sugar
- Pinch of salt
Makes: 6 cups of ice cream/ Approx. 6-8 servings
Prep time: 5 minutes
Total time with ice cream machine: 25 minutes depending on your machine.
Time in freezer: if you want hard ice cream not soft serve, you will need to place your ice cream in the freezer for 30 mins.to 1hr after it’s out of the machine. It really depends on your machine.
Items you need to gather:
- Whisk/spoon
- Large bowl
- Measuring cup
- Measuring spoons
- Ice cream maker
- All your ingredients
Let’s get going:
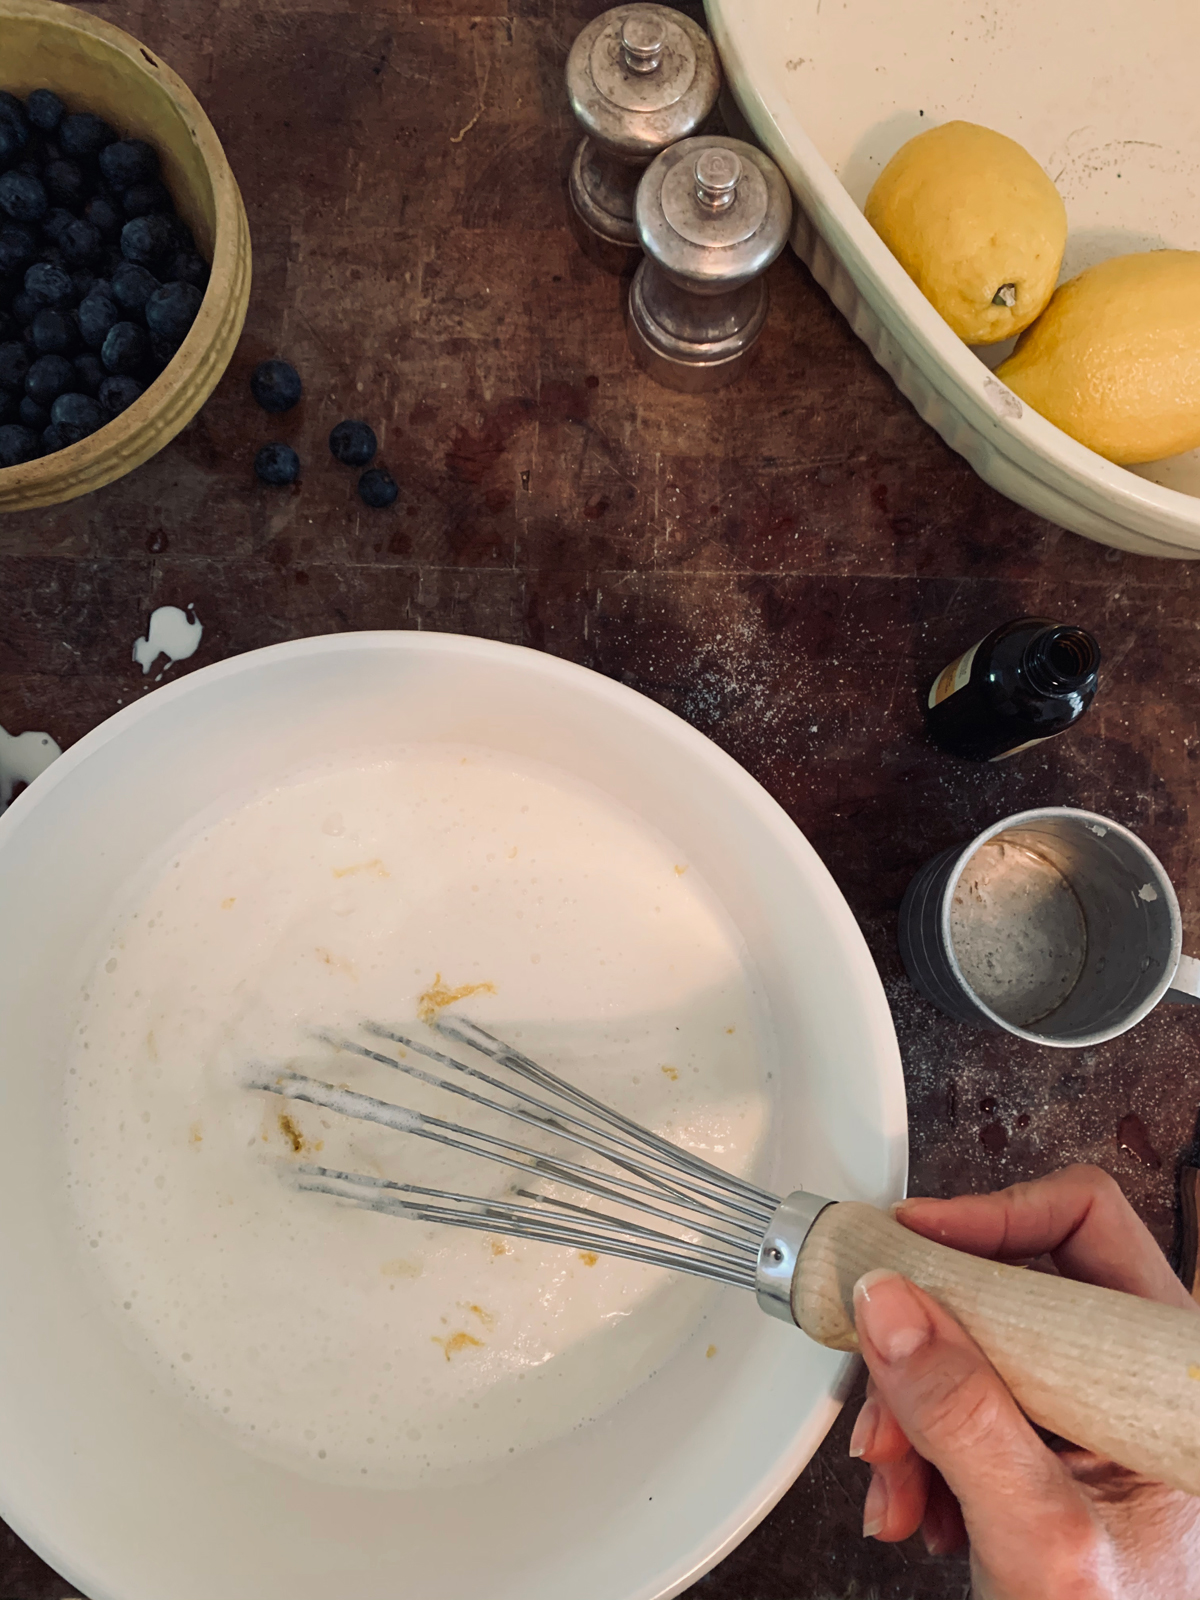
Add heavy whipping cream, whole milk, vanilla, granulated sugar in large bowl. Stir a couple of minutes until the sugar has completely dissolved. No need to whisk just stir well. Next add in fresh lemon juice and lemon zest.
Note: if you don’t have a zester or microplaner, you can use a standard grater for the lemon zest, but after you grated the lemon (approx. half a lemon) go back and finely chop the grated lemon peel with a knife, just to get the pieces as small as possible. Just a reminder to grate only the outermost yellow rind on the exterior of the lemon, otherwise your getting into the white membrane below the yellow which is bitter and tart.
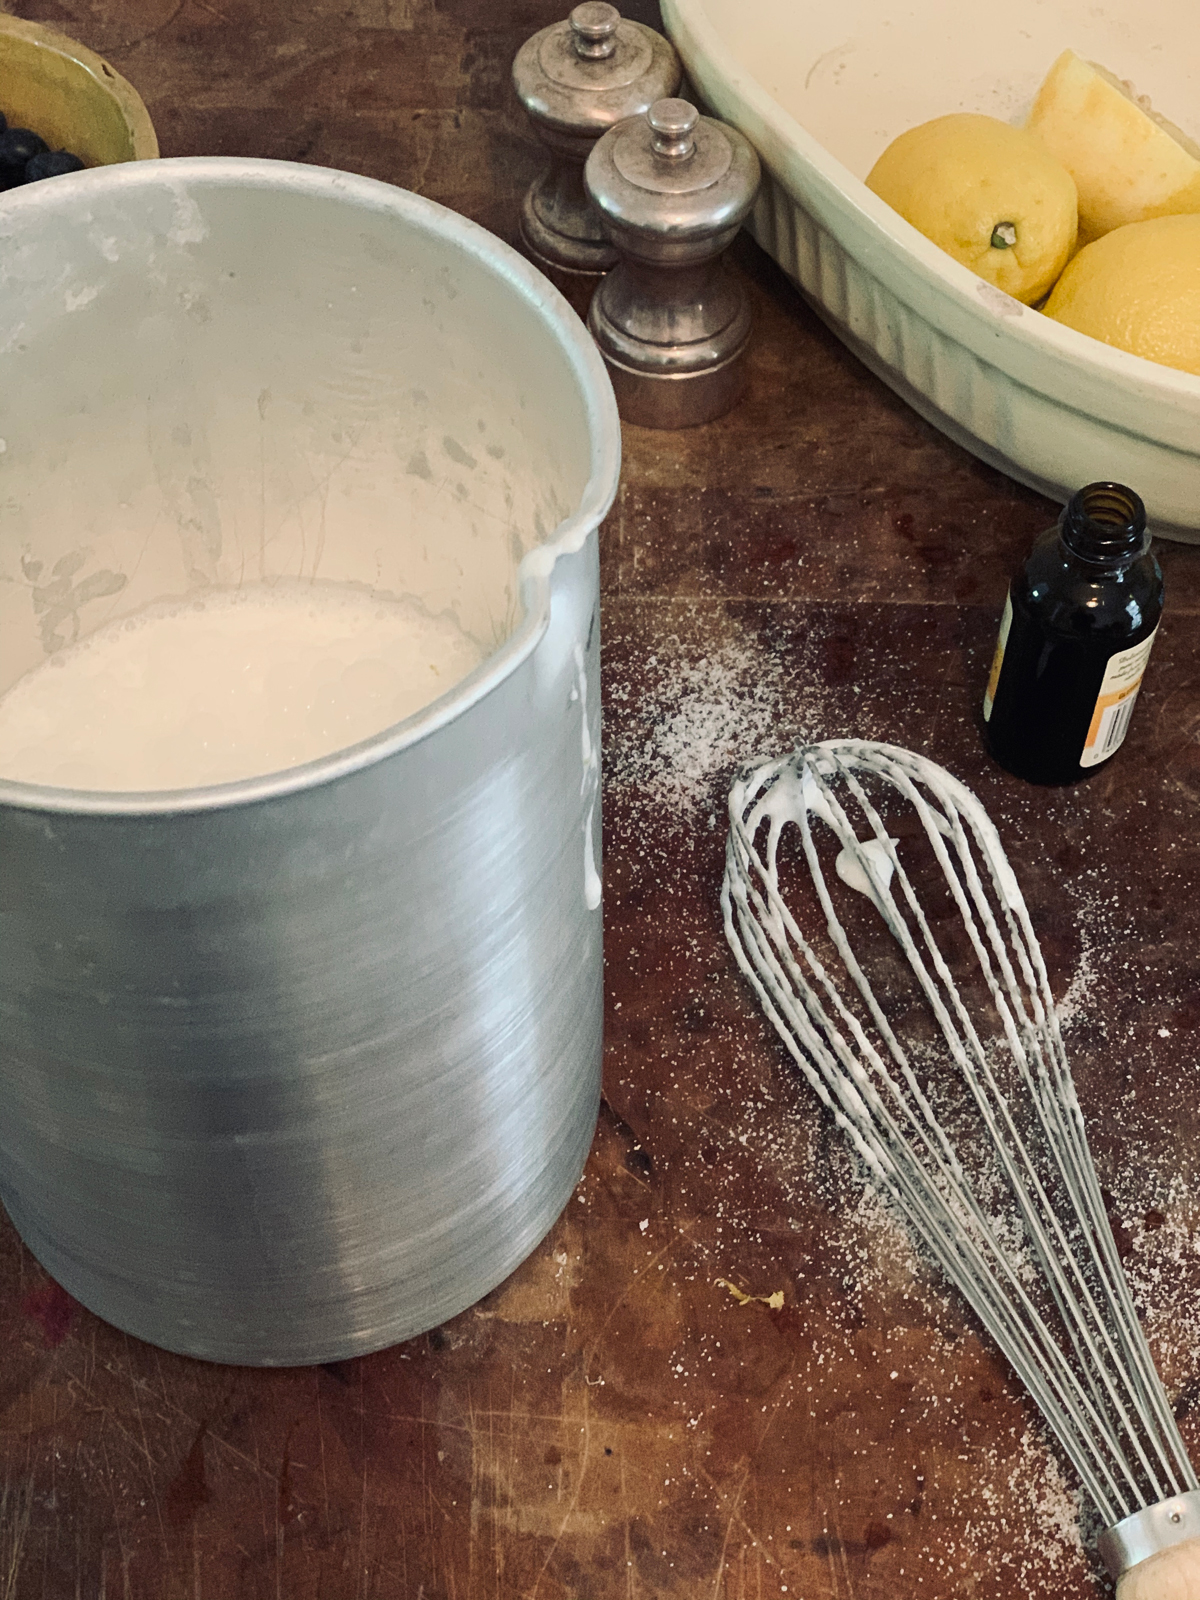
Next pour the mixture into your ice cream machine canister.
Add about 4 alternating layers of crushed ice and ice cream salt to the outer chamber of your ice cream maker.
This step might not be necessary depending on the style of your ice cream maker.
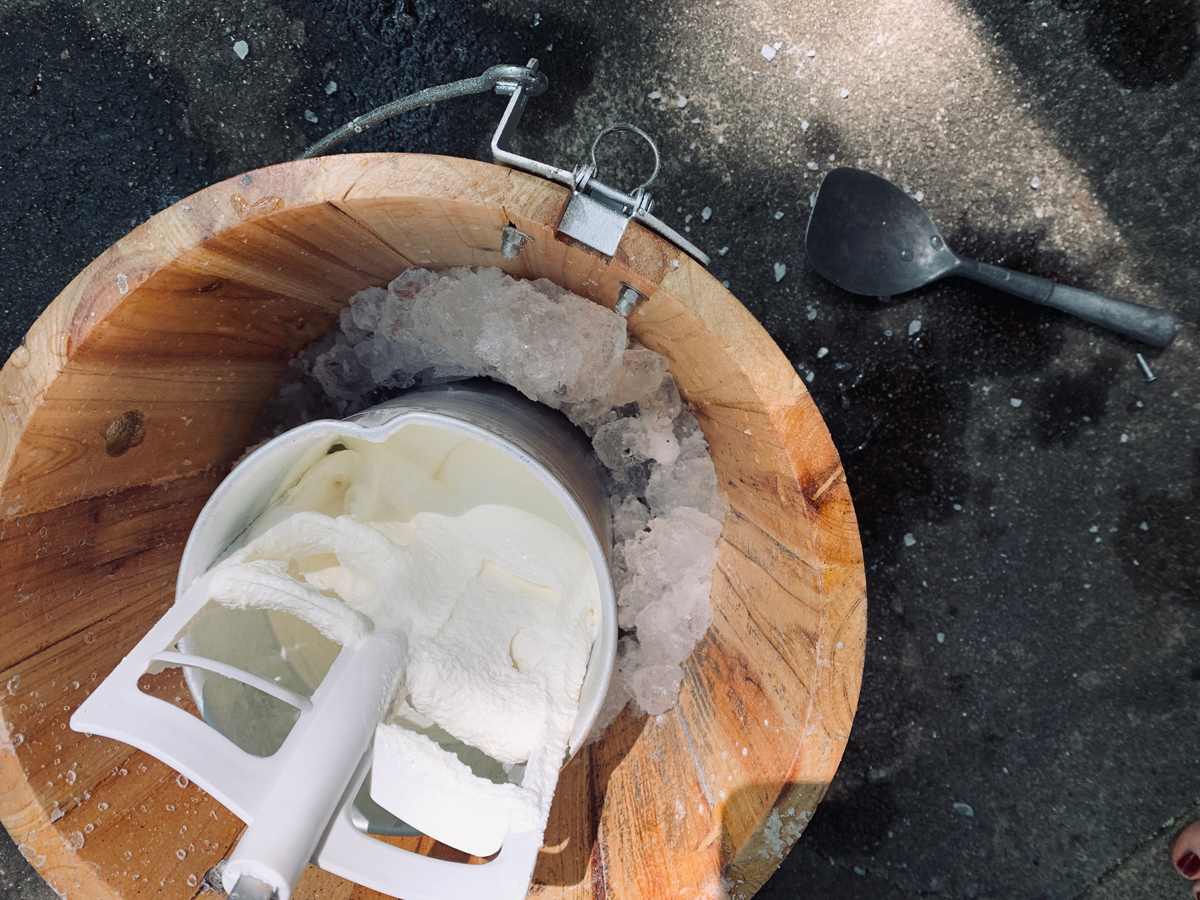
Turn the ice cream maker on or start cranking by hand.
I have used the hand crank once. It’s neat, but I like the electric motor option. My ice cream machine takes about 15-25 minutes depending on the outside temperature to churn the ice cream with the electric motor.
My machine stops once the ice cream is starting to thicken up. Keep in mind the texture resembles soft serve ice cream.
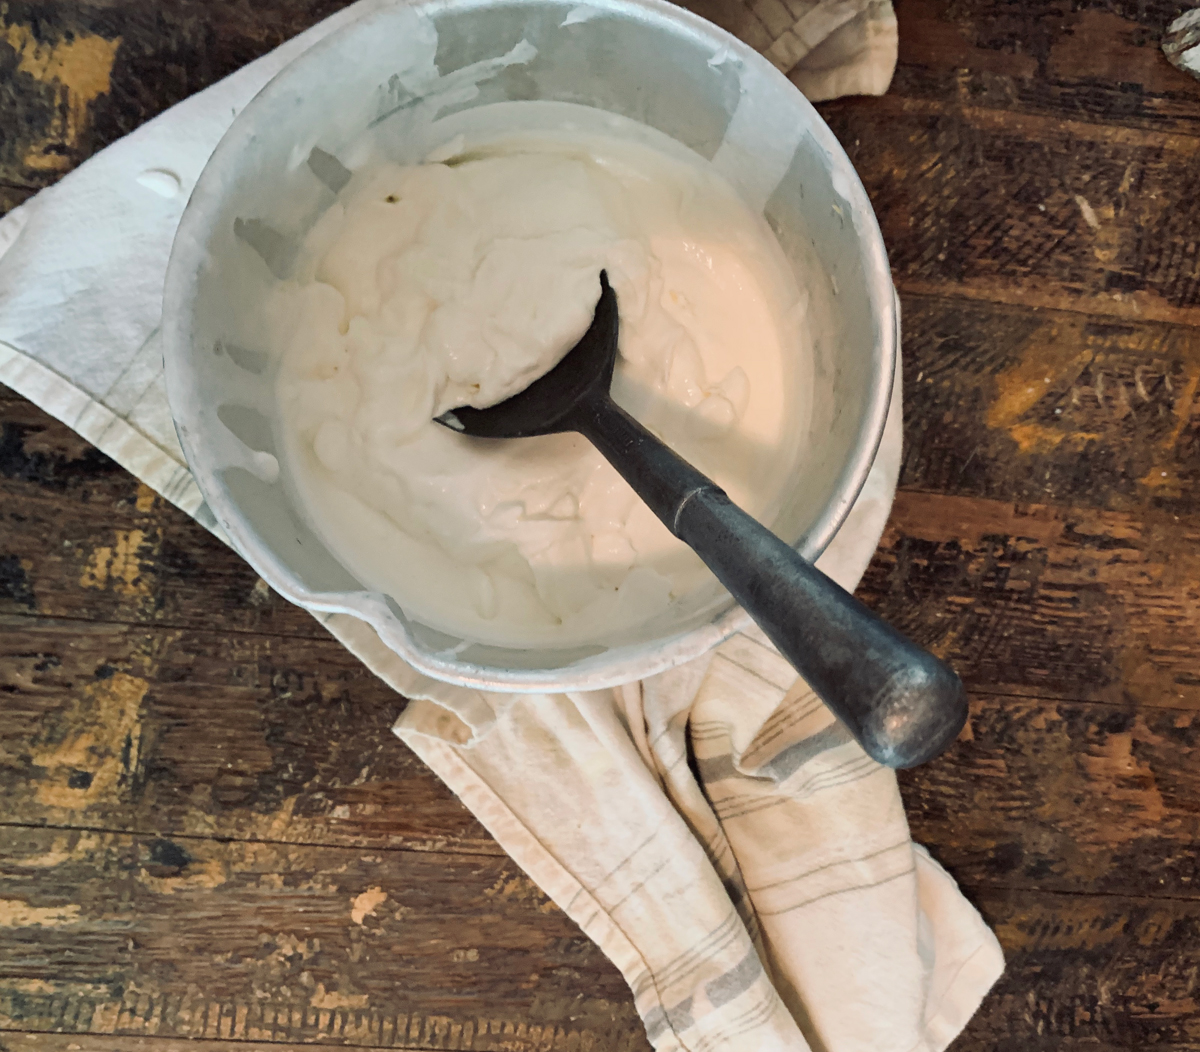
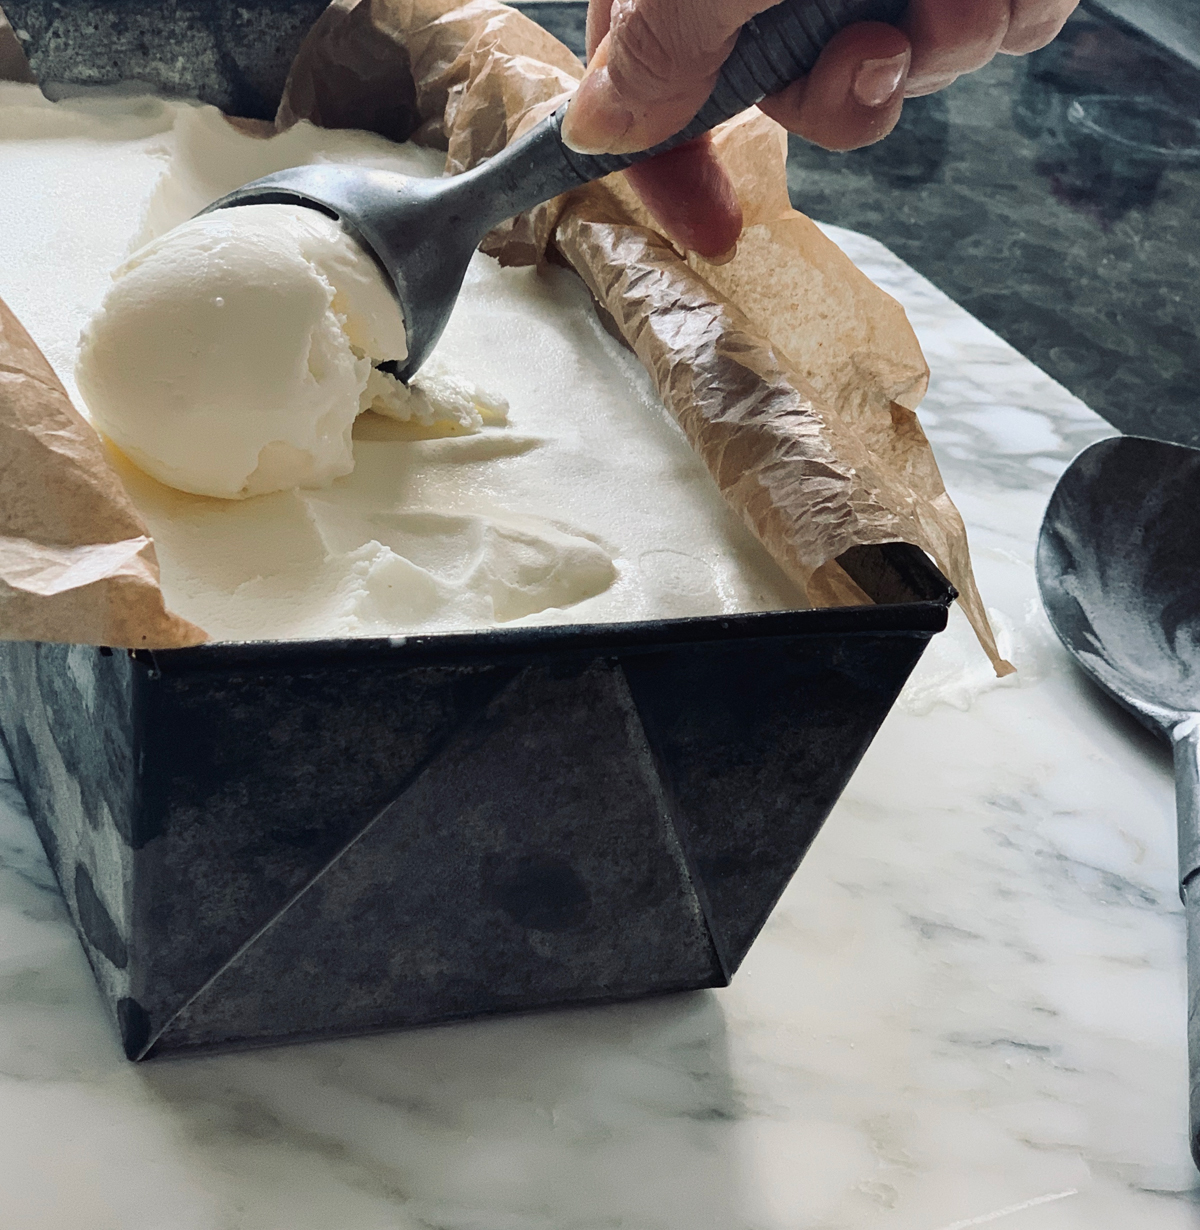
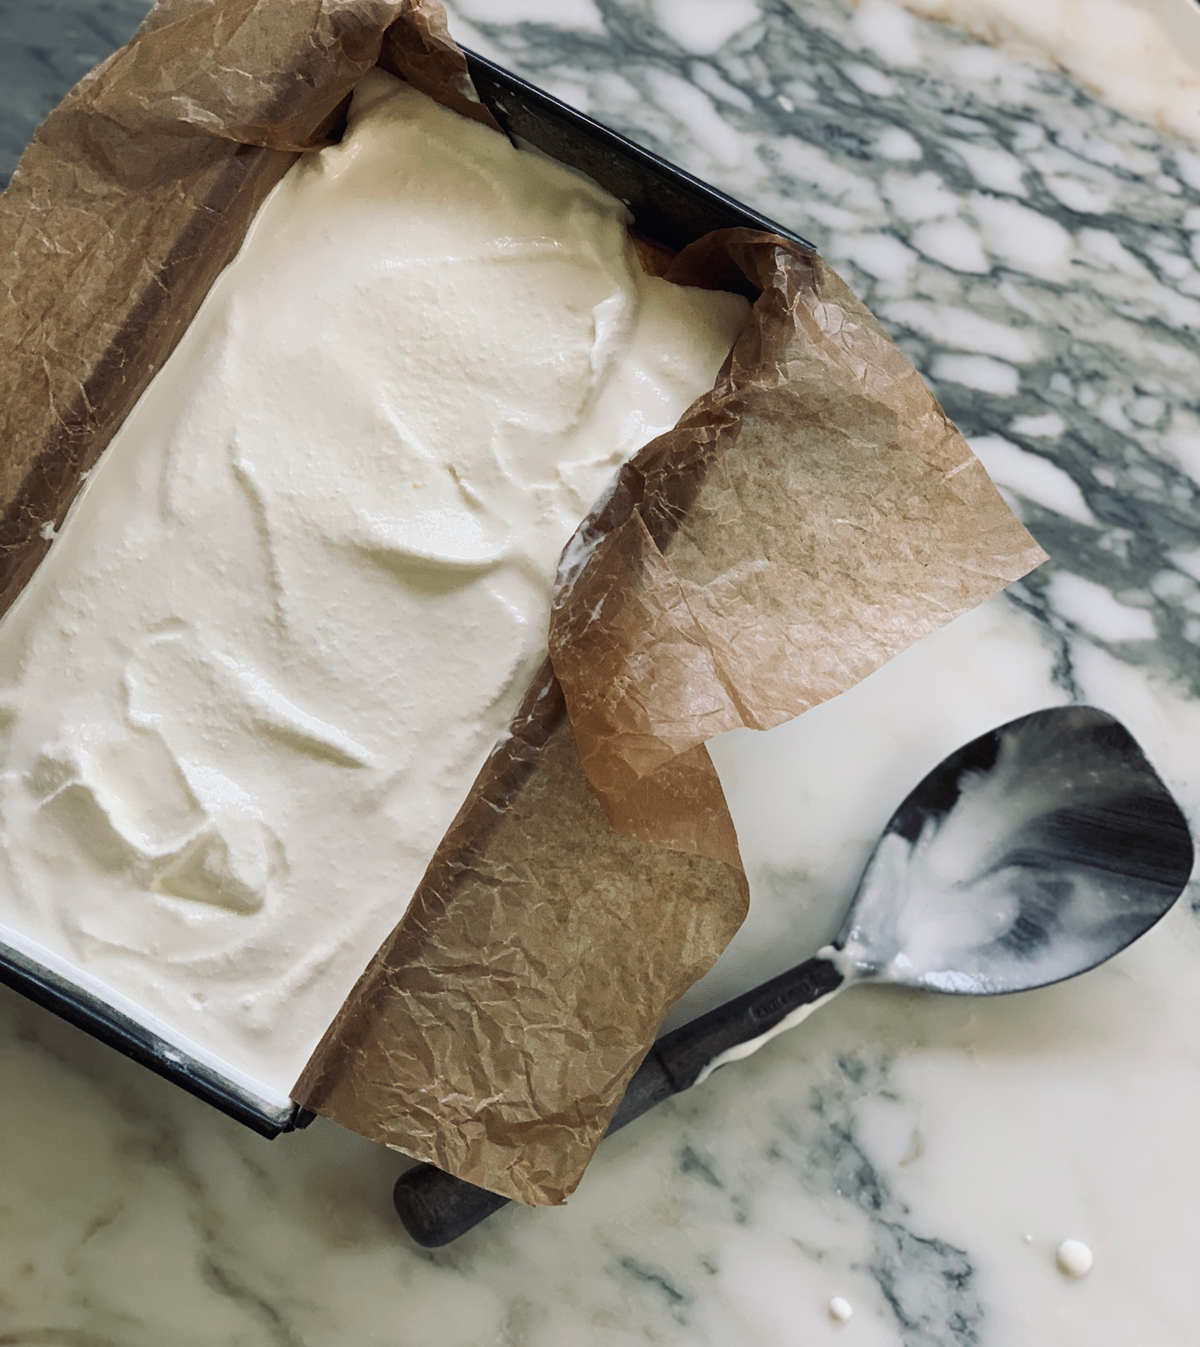
At this point I normally scoop it out of the aluminum canister and freeze it in a metal loaf pan until I’m ready to serve it.
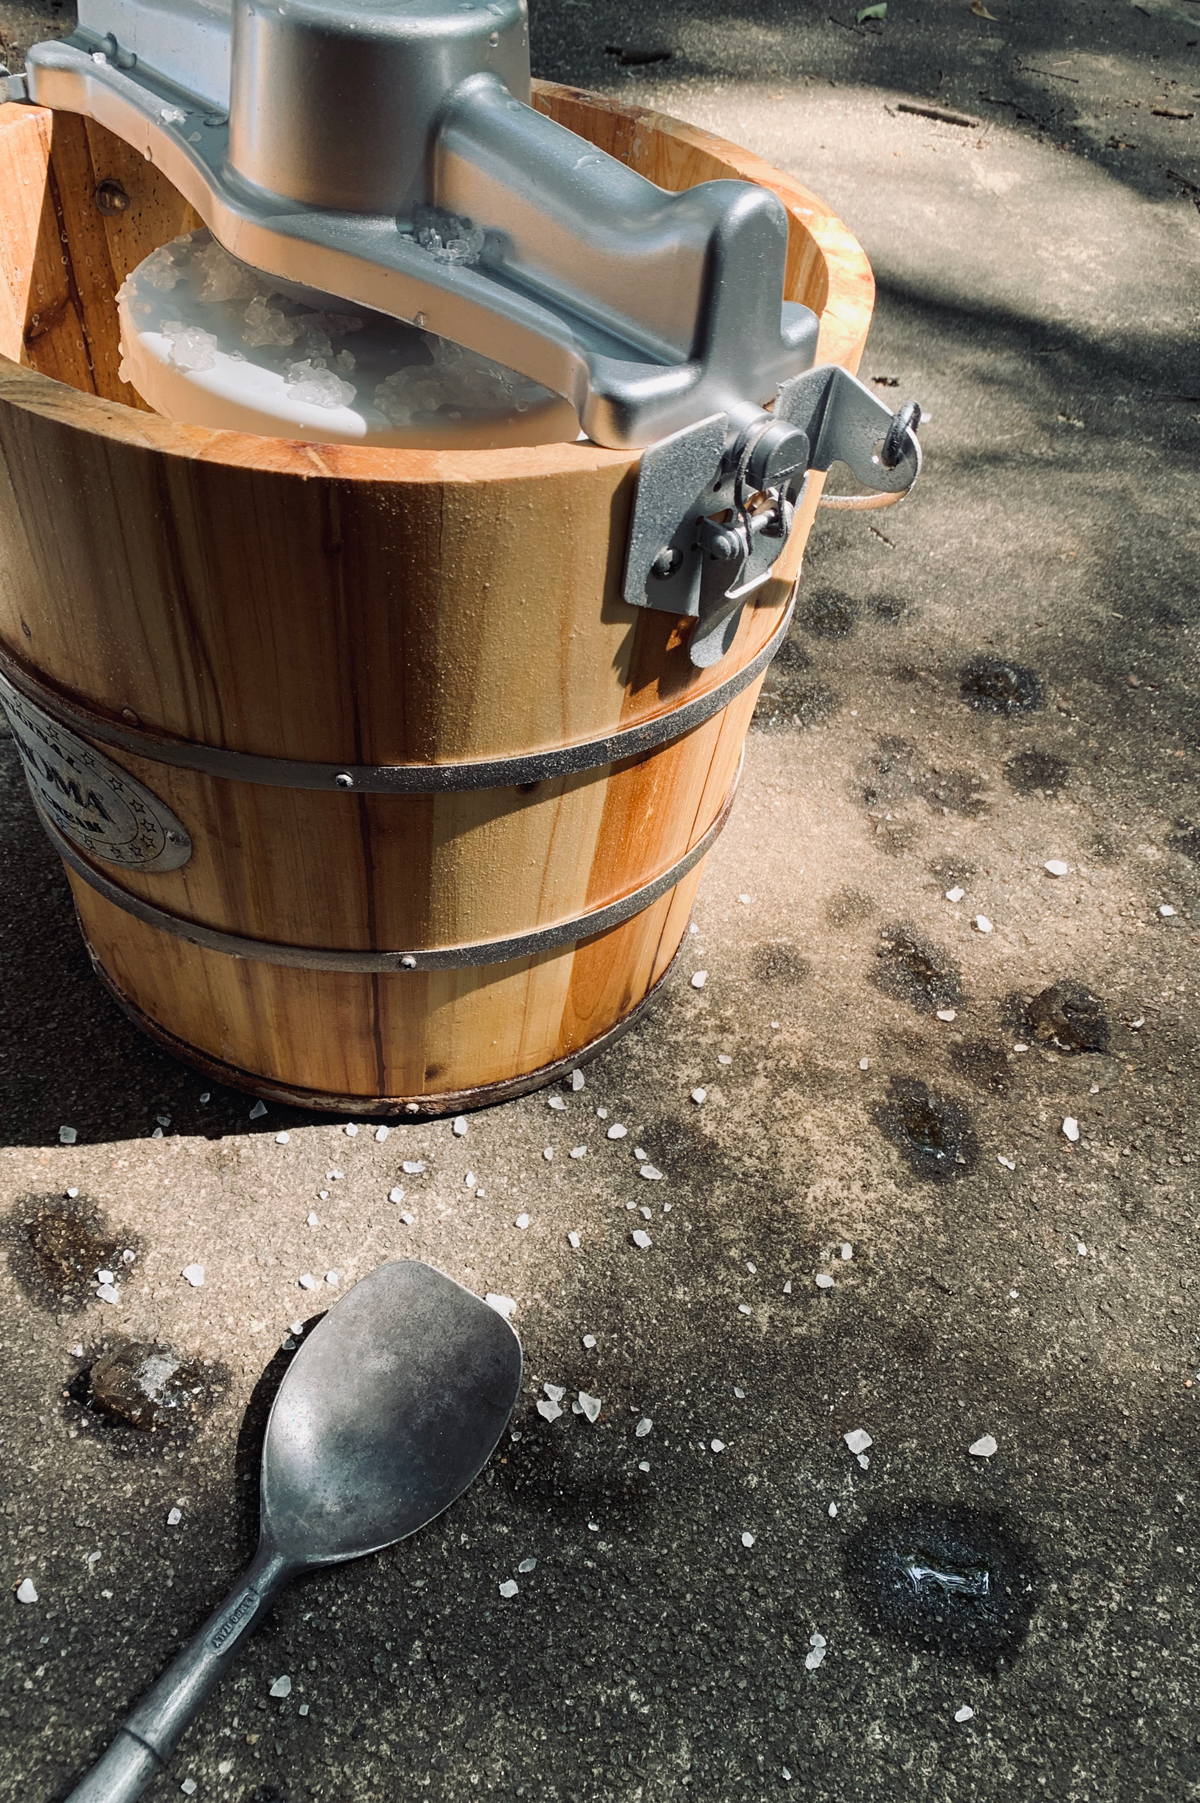
I used a Aroma 4 qt Wood Barrel Ice Cream Maker. It comes with both the traditional hand crank and electric motor. Love having the option to choose even though I rarely use the hand crank!!. Above is a link to the product. I have had mine for over 10 years and still enjoy it.
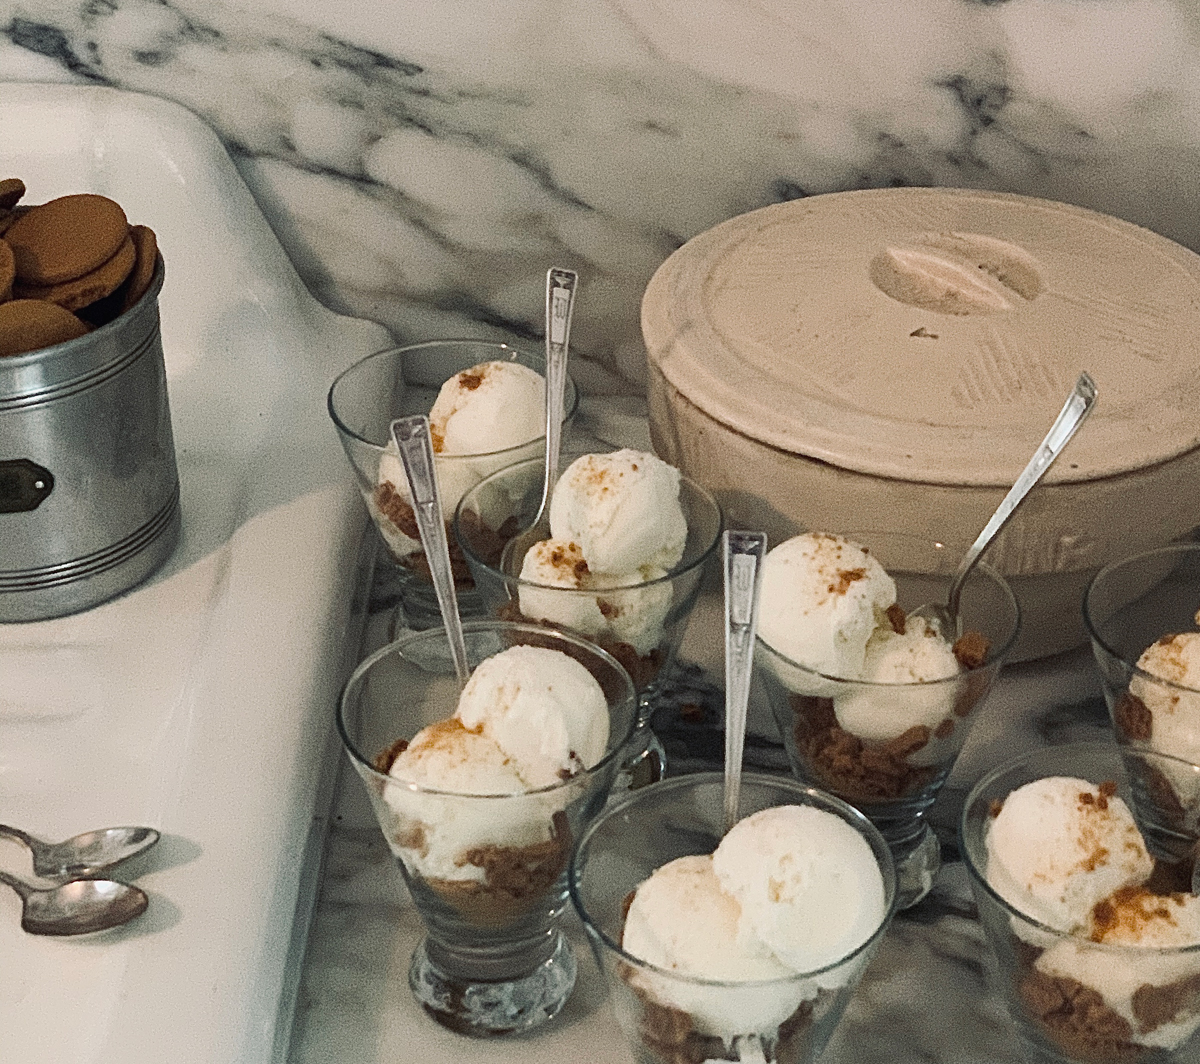
What did you do with your ice cream? Eat it by itself or add it on top of a dessert… possibly parfaits?? Let me know!
Xoxo Abbi
More of my favorite tips!
Mid-Century Modern… all from a secondhand store!
Aluminum carry-on luggage… 6 things no one tells you!
Casual Fall Brunch… with Crepes!
Retreating to Lake Chatuge… My 5 must haves!
Paint Can Art
Classic and Easy Easter tablescape… Step by step
Decorating with tree branches
Turpentine Pots: Add History to Your Home
Why I’m OBSESSED with Pendleton Blankets!
Hydrangea and Figs Floral Arrangement